
Rig Guide | Barbel Pellet Feeder Rig
Pellets are without a doubt the most popular barbel bait, catching a huge number of fish across the UK throughout the year. But they are not necessarily the easiest of baits to hook or feed, being hard and sinking slowly.

This simple rig has evolved to make fishing these baits easy, keeping the feed pellets next to the hookbait and using a feeder to introduce a trail of bait.
Barbel are strong fighters and will tire themselves out, especially in the summer months, so it is important to land them quickly, hence the need for strong hooks and line.
Try to match the weight of the feeder to the strength of the current. You do not want the feeder to move once it has reached the riverbed, although use the lightest the feeder you can to make less disturbance.
If you are new to barbel fishing then this is the ideal rig. It makes one of the best barbel baits very easy to introduce exactly where you want. Get hold of a few pre-drilled 10mm pellets to use on the hair and, for feed, choose 3mm-4mm pellets and ensure that these can escape easily through the holes on the feeder.
How to tie a barbel pellet rig

1) Carefully enlarge the holes in the feeder so that the 4mm feed pellets can exit easily. Use a knife or a pair of scissors

2) Thread the feeder and the buffer bead on to the mainline. This should be stronger than the hooklength to break if the rig is snagged

3) Tie the rig swivel on to the end of the mainline using a four-turn grinner knot and pull the buffer bead over the end of the swivel

4) Tie a small overhand loop in the end of an 80cm length of the Zig Link to start the hooklength

5) Use a 10-turn knotless knot to tie on the hook. The hair should be long enough to leave a 5mm gap between bait and the bend of the hook

6) Thread a Rig Sleeve on to the hooklength. Tie the hooklength to the rig swivel using a four-turn grinner knot and pull it over the swivel The hooklength should be about 60cm
Rig Guide | How to tie a margin stalking rig
In the warmer months, you will find carp in the edge whatever size of lake you are fishing, assuming you stay quiet and employ an element of stealth of course.
Catching carp in close is preferable for many reasons. You can observe how they are feeding and bait up accordingly, rig placement is much easier than trying to land your hookbait on a small patch of gravel at 100 yards, and few sights are more exciting than watching a big carp pick up your hookbait and hook itself.
This rig offers excellent hooking properties. The large inline lead and short hooklink mean that a fish will come into contact with the full weight of the lead almost instantly.
Most anglers fish a boilie hookbait in conjunction with a PVA bag of pellets. If you want to fool warier carp try using a pellet hookbait instead as this will blend in perfectly with the free offerings.
So you don’t have to drill a pellet so that it can hair rigged, simply use a bait band instead. This will enable you to attach a fresh hookbait in seconds.

A) Fish the hookbait in a hair-rigged bait band
B) You’ll need to keep a hooked fish away from any marginal snag so a strong hook of at least size 8 is essential
C) A blob of tungsten putty keeps the hooklink pinned to deck and reduces the chance of a carp coming into contact with it and spooking
D) The lead is set up drop- off style. This means the leader runs over the outside of the lead as opposed to through the centre. When a fish picks up the rig, the swivel pulls out of the base and the lead will fall away. It’s important to lose the lead if you’re fishing close to snags such as reeds or overhanging branches
E) A heavy inline lead of at least 4oz offers excellent hooking properties
F) Use a leader such as leadcore or tubing to protect your mainline from any marginal hazards
Rig Guide | How to tie a Running Rig for carp fishing
Semi-fixed bolt rigs, such as lead clips and helicopter set-ups, are predominantly used by carp anglers.
Running rigs have fallen out of fashion, but they should have a place in every angler’s armoury, especially when targeting pressured carp used to dealing with more common presentations on a daily basis.
Fool wary fish
The main difference between a running rig and other lead arrangements is that the mainline can slide through the weight as soon as a carp picks up the hookbait.
This movement will be transmitted instantly to your bite alarm, providing excellent bite registration. In winter, when fish feed much more sluggishly, a semi-fixed rig can be picked up and ejected without a single bleep on your alarm. A combination of running rigs and switching your alarm’s sensitivity to high, however, will result in even the most finicky bites being registered.
They are also an effective way of fooling carp that have become adept at ejecting the hook when they feel the resistance from a bolt rig. Underwater footage has even shown carp can use the weight to throw the hook out by shaking their head.
A running rig stops them from being able to do this, as the line pulls through and they can’t use the weight as a pivot point.
If you suspect carp are ‘getting away with it', a change to running rigs could be the solution.
Get the best from running rigs
There are two essential factors required for running rigs to work effectively. First, you must use a heavy lead of at least 3oz. If you use too light a lead, the friction of the line pulling through the eye of the swivel will move the lead. A heavy lead will remain in position when the line pulls through the ring, which allows for maximum bite indication and minimum resistance.
Second, you need to use a dedicated run ring or a swivel with a large bore to enable the line to pass through easily.
When to use them
Running rigs are best used on firm lakebeds or shallow silt.
If you cast a heavy lead into very deep silt, it could become completely submerged in the soft debris and prevent the mainline being able to pass through the run ring.
Although running rigs are awesome for tricking wary fish, if they are feeding cautiously don’t be afraid to experiment with hooklink material and length as well.
A 10in-12in fluorocarbon hooklink will be almost impossible for a feeding carp to see, and as it has an element of stiffness it will also remain extended and pushed away from the lead. When the hookbait is picked up, this means the movement is instantly transmitted to the bite alarm.
Other ways to improve bite indication and keep resistance to a minimum is to point the rod directly at the spot you’re fishing and use as light a bobbin as possible.
How to make a running rig

1) Thread the running ring and buffer sleeve on to your mainline or leader

2) Attach a swivel to the end of your mainline or leader

3) Push the swivel into the base of the buffer sleeve

4) Insert lead into running ring until the eye of the swivel is level with the hole

5) Push the peg into the hole to fix the lead in place
Fishing Rig Guide | Roach Helicopter Feeder Rig
Britain’s favourite species can be caught on a wide range of different tactics, from float fishing to the Method feeder.
One of the most effective tactics, especially in winter, is a helicopter feeder combined with maggots for feed and hookbait. This rig works in both stillwaters and rivers and creates a concentration of bait with the hookbait in the centre. With a heavy enough feeder, the rig produces a bolt-effect that means most fish, even shy-biters, are efficiently hooked.
Regular, accurate recasting is essential because the only bait introduced will be through the feeder. Fresh white maggots are the only bait required and recast every 30 minutes to give the feeder time to empty.
Because the feeder is quite heavy, do not be tempted to use a light mainline. Stick to a breaking strain of at least 6lb to avoid cracking off on the cast. The hooklength also does not have to be too thin. With such a short hooklength, a slightly thicker diameter line helps to reduce tangles, thanks to its stiffness.

1) Cut a 30cm length of the Powerline to form the hooklength. This can be between 0.11mm and 0.15mm in diameter

2) Tie on the hook using a spade-end knot, but pass the line through the eye first. This kicks the hook at an angle that improves hooking

3) Tie the Mini Rig Swivel to the other end of the hooklength. The hooklength should have a finished length of 10cm to 15cm

4) Trap the hooklength swivel between a pair of Gripper Stops. The hooklength should be just above the feeder when the rig is complete

5) Tie on the feeder using a four-turn grinner knot. A feeder weighing a minimum of 30g creates a good bolt-effect for better hooking
Fishing Rig Guide | safe pike leger rig
While it’s always nice to watch a float, there are lots of days when legering is a much more efficient way of deadbaiting for pike.
Perhaps the fish can only be caught at range, or the wind is so bad that floats are difficult to see. Even fishing several swims with very different depths can mean that legering is the better option.
Whatever the reason, using strong tackle that enables the hooks to be straightened before the line breaks is a must, especially in snaggy swims.
Another important consideration is to protect the line above the leger weight. Often because of the weight of the bait, the trace will land in a coiled heap above the weight, which can lead to pike picking up the line in their mouths with the risk of a bite-off.
To combat this, an uptrace above the weight should be incorporated into the rig. An uptrace is simple to create, and can even be bought ready-made if you prefer. Combining strong line, wire and an uptrace will ensure that your rigs are safe and enable you to enjoy trouble-free piking.

1) A 90cm length of wire makes the uptrace. Heat the last 3cm until it glows orange-hot, making it easier to twist

2) Bend the last 3cm over 180° and thread through swivel. Pass through the loop to lock the wire in place

3) Use a Twiddlin’ Stick through the eye of the swivel to form tight turns in the wire, locking it in position

4) The finished wire twist should look like this. Alternatively, you could crimp the wire in place

5) Thread a Swivel Cover on to the wire and pull it over the end of the swivel. This helps to prevent tangles

6) Thread an XL Buffer Bead on to the end of the wire, with the bulbous end pointing downwards to the free end

7) Attach Cross-lock Swivel to the wire via the Twiddlin’ method. Pull the XL Buffer Bead on to the swivel

8) Attach Flat Pear Lead to an XL Run Ring and slide ring on to the uptrace. The ring should clear uptrace swivel

9) Attach a two-hook semi-barbless trace of your chosen hook size to the Cross-lock Swivel on the uptrace

10) Tie the swivel on the top of the uptrace to the mainline braid using a doubled-over four-turn grinner knot


Fishing rig guide | Helicopter Rigs
The helicopter rig gets its name from the rotational movement of the hooklink around the leader when the rig is cast out.
This spinning motion gives the set-up excellent anti-tangle properties because the hooklink is stretched out and cannot wrap itself around the leader.
Having the lead weight on the end of the line makes the presentation aerodynamic and is therefore a great choice when long casts are required. By adjusting the position of the top bead, you can also ensure that your hooklink is presented effectively over almost any type of lakebed.

How to make a helicopter arrangement

1) Thread on a helicopter sleeve and then splice or tie a quick change clip on to the end of your leader. Attach your chosen lead to the clip

2) Thread a small bead, your hooklink, a small section of 0.75mm silicone tubing and a second small bead on to the leader

3) Wet with saliva and push top bead over the tubing. To ensure the rig is safe, the bead should be lose enough to be pushed off in the event of a crack off

4) If you’re are fishing over thick silt, push the silicone tubing and top bead a few inches up the leader to allow the hooklink to settle on top of the silt
GREAT RIGS TO FISH ON A HELICOPTER PRESENTATION

THE CHOD RIG
This is a pop-up rig comprising a short, stiff hooklink. Setting the top bead at the depth of the weed or silt prevents the hookbait from becoming masked.

BOTTOM BAIT RIG
There’s often no need to use anything more complicated than a straightforward bottom bait rig. A hooklength length of 8in is reccomended.

FAKE CORN RIG
This set-up is perfect for fishing over a bed of corn and hemp or on its own with just a PVA bag of small pellets. Hair-rig the baits so that are tight to the hook.
Fishing Rig Guide | River perch rig
Legering is often seen as a lazy tactic. The perception is that the baited rig is cast out, the rod placed on the rest and it’s then a matter of hoping for the best. But Rob’s leger tactics are much more active. He is constantly working the rig to try and gain a response from any hungry predators.
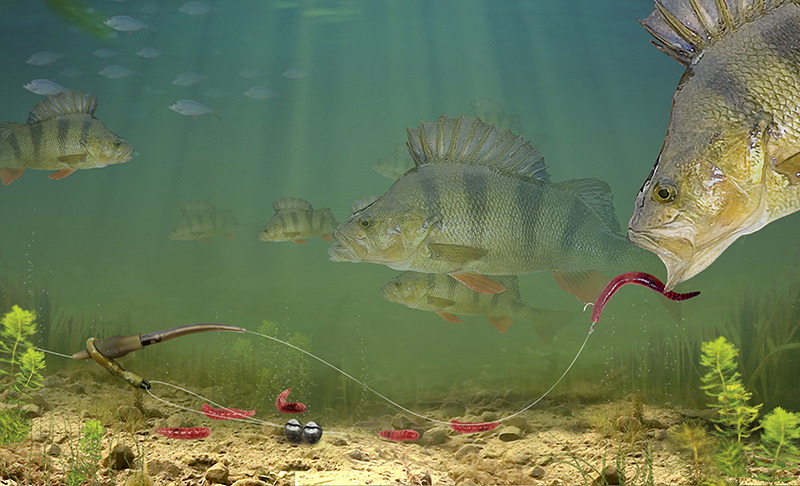
“Perch will always choose to attack a bait that is wriggling and that explains why worms work so well for them.
“At this time of year there is likely to be a lot of debris on the bottom as a result of the trees dropping their leaves, and your hookbait can easily get lost among all of this.
“In order to make sure the hookbait stands out, I like to twitch it along the bottom at regular intervals. If I don’t get any indications within a couple of minutes, I will twitch the rig a couple of inches.
“You’d be surprised how many bites come immediately after doing it. It proves that more often not there are perch sat in the swim but they might not even be able to see your hookbait.”
A heavy feeder on the bottom is difficult to twitch and will look unnatural and spook fish when it suddenly jolts, so Rob prefers to use a link leger. If that isn’t possible in the conditions he will use the smallest maggot feeder that will continue to hold the bottom.
How to tie a running link leger rig

1) Thread the large bore running ring and clip on to your mainline

2) This is then followed by the angled buffer bead
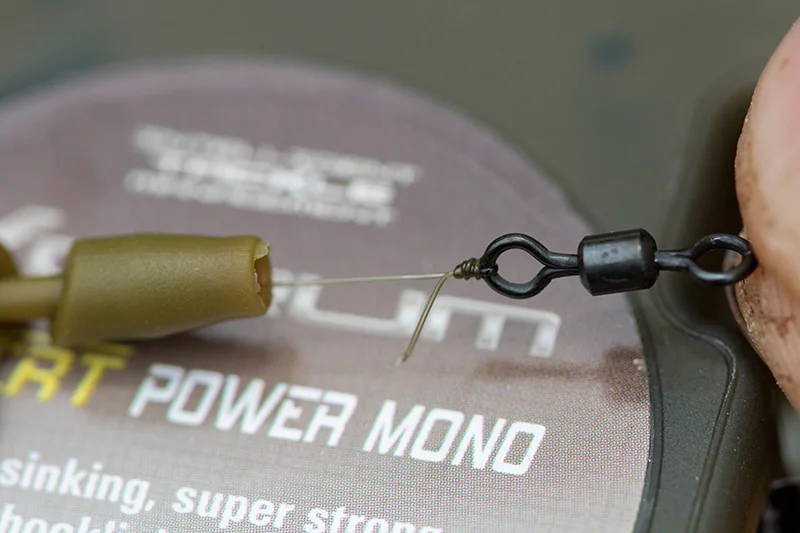
3) Tie the swivel supplied with the Running Rig Kit to the mainline

4) Thread the anti-tangle sleeve on to your hooklink and tie to swivel

5) Push the anti-tangle sleeve over the eye of the swivel

6) Tie on a Korum Xpert Specialist hook using a palomar knot

7) Pass a loop of line through the clip on the base of the running ring

8) Pinch a couple of SSG shot onto the line to form the link leger
Fishing Rig Guide | The Dropshot Rig

The drop shot rig is perhaps the easiest way to start lure fishing for perch. It is equally effective used on a wide variety of venues and for perch of all sizes.
With an easily interchangeable weight attached below the lure, you can be sure that you are always fishing close to the bottom, and can instantly adjust the depth of the lure simply by moving the position of the weight.
Best fished on a slow, hesitant, retrieve with plenty of pauses and small twitches, a drop shot enables you to cover the water thoroughly and at different speeds – ideal when water temperature is low and the perch will be hugging the bottom. Try it on your local canal, river, or lake, in fact anywhere that perch are to be found.
For best results combine this rig with light braid of around 10lb. The lack of stretch in braid will give much improved bite indication, and enable you to feel every pebble and strand of weed on the bottom. Combine this with soft lures ranging from 3cm to 9cm.

1) Tie the drop shot hook to the centre of a 1.5m length of 6lb fluorocarbon using a Palomar knot

2) Tie the top end of the fluorocarbon leader to the mainline braid using a double four-turn water knot

3) Attach the drop shot weight to the bottom of the fluorocarbon leader and adjust the position to set the depth

4) The lure can be hooked in several ways. For maximum movement, hook it through the nose like this